Getting started with Git
Getting started with Git: A widely-used version control system
I remember when I was completing my graduation; my teacher once explained our class “Project Development Life Cycle” with examples.
Few of them are waterfall model, prototype model,etc in which we have to follow traditional way in order to complete the project step by step.
But as Time flies demands from the customers were changed. They were attracted towards the one, who is able to deliver the product and service to them within less time with encompassing and fulfilling their demands.
In order to grab the market and targeting the potential customer the term Continuous integration got emerged.
Continuous Integration (C.I.):
Continuous Integration (CI) is a development practice. Here developers required to integrate code into a shared repository several times a day.
As the name suggest, the idea behind C.I. is continuously monitoring the project files, available on server, on daily basis to avoid the confusion between the developers and eliminate the errors.
Git:
Git is version control software. It means Git manages changes to a project without overwriting any part of that project.
Suppose a team of people working on the same project then Git allows a them to work together with the help of using the same files. It helps to maintain a single source repository and Test in a clone of the production environment.
The logic behind this is that –
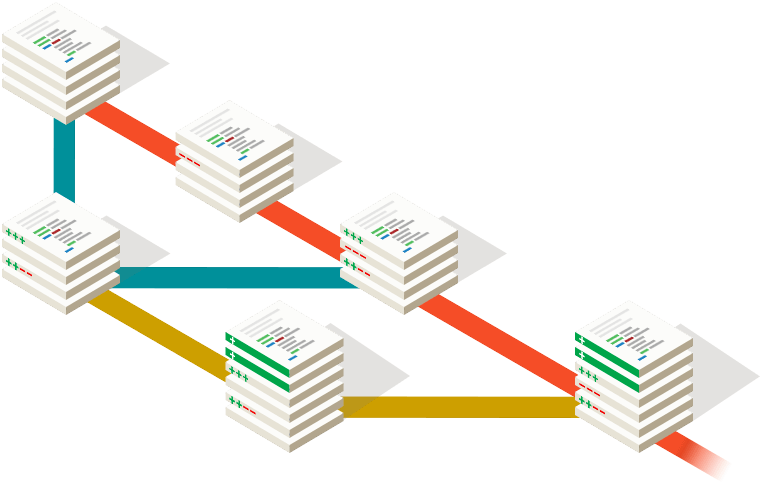
When a developer starts working on the project he downloads all the project related files to his local machine. By doing this he creates a local version of those files on his machine. Due to that local version he may add or delete the code as per required as he is not working on the files which are available on server. So the code residing in the repos on server is intact unless he save them to the server.
Following Git commands can tell us more easily how all these things work.
- Pull command :-
The Pull command is used to get the latest or current data from the files which are available on server. When developer triggers “git pull” in his terminal; he gets the files in their updated form.
Means if another developer who has saved his changes to the server, those changes are visible after performing “git pull” command.
- Git add :-
When developer is done with his changes to the code (available on local machine) he has to use “git add” command to save the changes from local machine to server.
- Git commit :-
This command is used to highlight or mention the changes done by a developer to the code which he is going to save to the server.
Here developer can leave a message within double quotes from which the people who are working on the same project get the idea about the changes performed.
git commit –m”added a new class”
- Git Push :-
Suppose developer A is done with his code alteration, he saves his amount of work on server simply by using “git push” command.
Further when any other developer B, pulls the code from server by using “git pull” command he can see the changes done to the main code by A; as the previous code available on local machine of B differs from the latest code which he just has pulled from server by using “git pull”.
- Git status :-
Git status command tells us the files which we have changed but we have not added or committed them.
- Branch :-
Suppose there is a working repo on A’s local machine and he want s to add some features it then this can be achieved by creating branch.
In this developer creates a branch of working repo. This is makes a copy of it with different name. So he can do and try for the alteration to the code without modifying the working repo.
Commands used in this branching are:
- Git branch :-
By using this command we create a copy of working repo (say abc) for our R & D purpose. It also shows our present location i.e. in which branch we are right now (Same like “pwd”)
Here “git branch xyz” is used to create new branch of working repo with the name xyz. The * in front of branch name is nothing but our present location.
- Git checkout :-
It is used to switch the control from one branch to another.
“git checkout abc” It means we have switched from branch xyz to abc.
Git clone:
At first I registered my self on git hub and open my account.
I was provided with https://github.com/muktaa/JavaApplication .
further by using following commands in terminal I cloned the whole master repo from server like –
https://github.com/muktaa/JavaApplication.git
Due to this I get an exact copy of master repo present on Mukta’s git account.
Further I added new files as required for practicing.
While performing git tasks I have gone and used the following commands:
2) git config –global user.email
3) git init
4) git clone
5) git add *
6) git commit -m ”
7) git push
8) git status
9) git checkout
10) git branch
11) git pull
12) git push
I was encountered with problems while performing git cloning (with CLI), learning branch structure, GUI fork, Committing after done with hands-on .
I got solutions to such problems by help of:
www.google.comhttps://www.quora.com/What-is-git-and-why-should-I-use-it?
http://www.thoughtworks.com/continuous-integration
http://www.quora.com/What-is-Git-used-for-What-does-it-do-exactly
https://git-scm.com/book/en/v2/Getting-Started-First-Time-Git-Setup
http://techcrunch.com/2012/07/14/what-exactly-is-github-anyway/
http://searchdatacenter.techtarget.com/definition/GitHub
http://www.learn2crack.com/2013/06/learn-to-use-github-linux.html/2
https://github.com/sparkfun/Github_Tutorial
https://www.linux.com/learn/tutorials/796387-beginning-git-and-github-for-linux-users/
http://readwrite.com/2013/09/30/understanding-github-a-journey-for-beginners-part-1
Written by Mandar Gogate – WhiteHedge Technologies


